
 Pin
Pin
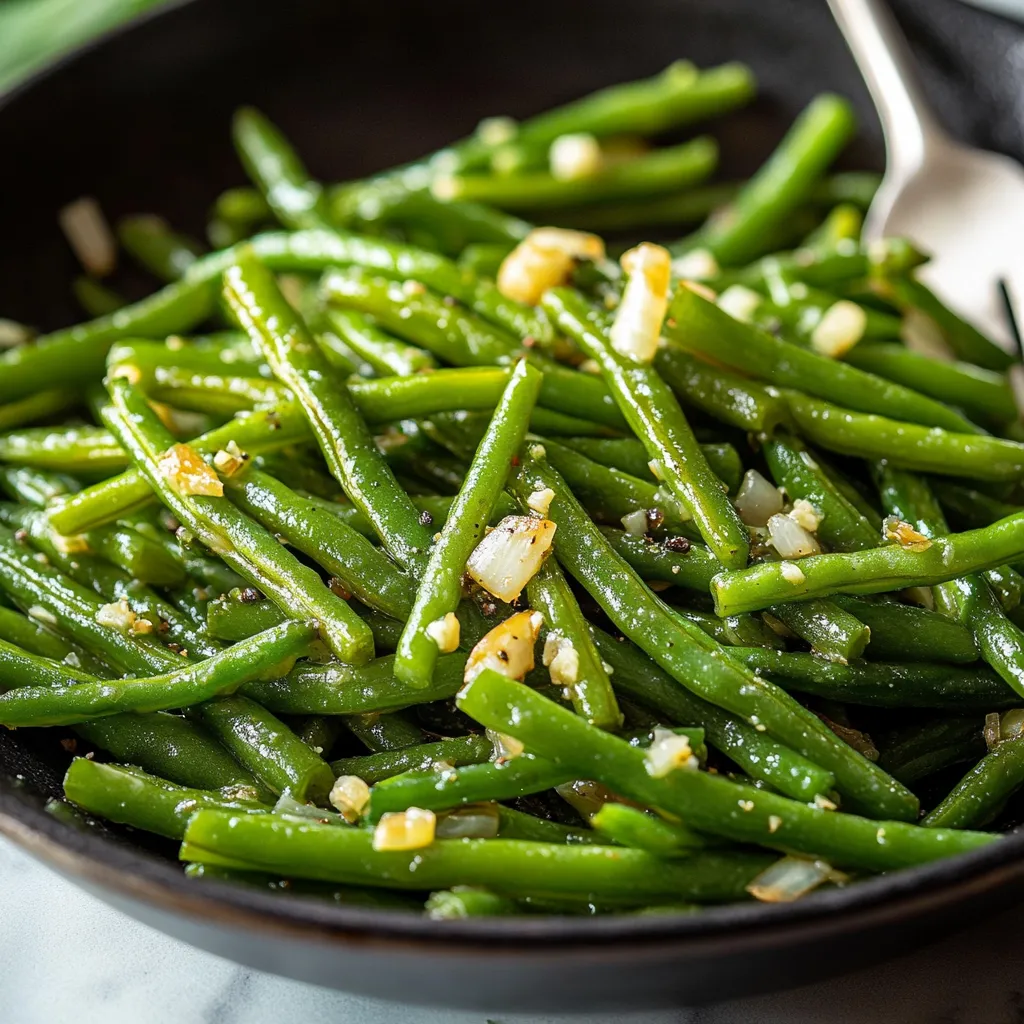
This hearty sautéed green beans dish transforms a humble vegetable into a flavorful side that complements virtually any main course. The combination of garlic and butter creates an irresistible aroma that will have everyone reaching for seconds before they've even tasted it.
I developed this recipe during a particularly busy holiday season when I needed something quick yet impressive for unexpected dinner guests. Now it's my go-to side dish whenever I need something reliable that doesn't compete for oven space with the main course.
Ingredients
- 16 oz package frozen green beans: They retain texture better than canned and are just as nutritious as fresh when properly cooked
- 1 tablespoon olive oil: Provides healthy fat and prevents butter from burning
- 1 tablespoon butter: Adds rich flavor that olive oil alone cannot provide
- 1 teaspoon bottled minced garlic: Saves prep time without sacrificing flavor; look for jars without added preservatives
- 1/4 cup diced onion: Adds sweetness and depth; choose yellow onions for best all-around flavor
- Salt and pepper to taste: Always adjust to your preference; start with less and add more as needed
Step-by-Step Instructions
- Thaw the Green Beans:
- Leave green beans sitting out for about 30-60 minutes or defrost in microwave for 3-4 minutes. You want them just defrosted but not warm or soggy. This crucial step prevents waterlogged beans and ensures proper caramelization when they hit the hot pan.
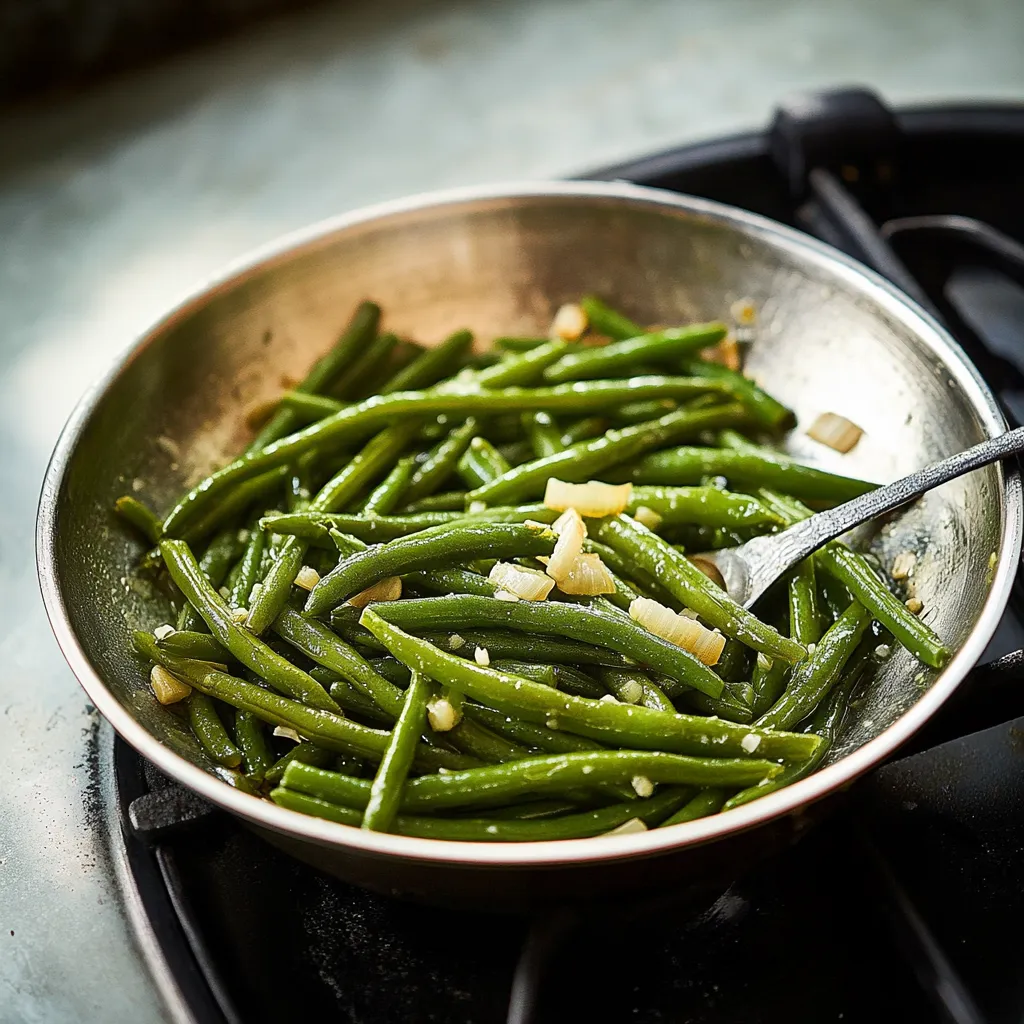
- Prepare the Fat Base:
- In a small skillet over medium high heat melt butter along with olive oil. Wait until the butter is completely melted and the pan is hot enough that a single bean would sizzle when added. This combination provides the perfect cooking medium with a high smoke point and rich flavor.
- Initial Sauté:
- When butter is melted and pan is properly heated add all the green beans at once. Listen for that satisfying sizzle which indicates your pan is the right temperature. Continue sautéing and stir occasionally for about 3-4 minutes allowing some slight browning to develop.
- Add Aromatics:
- Add garlic and onion to the partially cooked beans. This timing prevents the garlic from burning while still allowing it to release its aromatic compounds. Continue stirring for another 3-4 minutes until green beans are heated through and garlic and onion are crispy and starting to brown but not burned.
 Pin
Pin
The secret to this dish is patience with the initial thawing. I once rushed this step and ended up with waterlogged beans that steamed rather than sautéed. That mistake taught me that properly thawed beans are the foundation of this simple yet delicious recipe.
Perfect Timing Tips
The key to perfectly sautéed green beans lies in the temperature control. If your pan is too hot the garlic will burn before the beans are cooked through. If too cool you will end up steaming rather than sautéing. Watch for that gentle sizzle sound throughout cooking which tells you everything is proceeding at the right pace.
Make Ahead Options
These green beans can be prepared up to two days in advance and reheated just before serving. Store them in an airtight container in the refrigerator and reheat in a skillet over medium heat for about 3 minutes. Add a small splash of water if they seem dry and finish with a tiny pat of fresh butter for restored flavor.
Flavor Variations
Transform this basic recipe by adding red pepper flakes for heat sliced almonds for crunch or a squeeze of lemon juice for brightness. For an Asian-inspired version substitute sesame oil for olive oil and finish with a sprinkle of toasted sesame seeds. These variations keep the recipe interesting while maintaining its essential simplicity.
Serving Suggestions
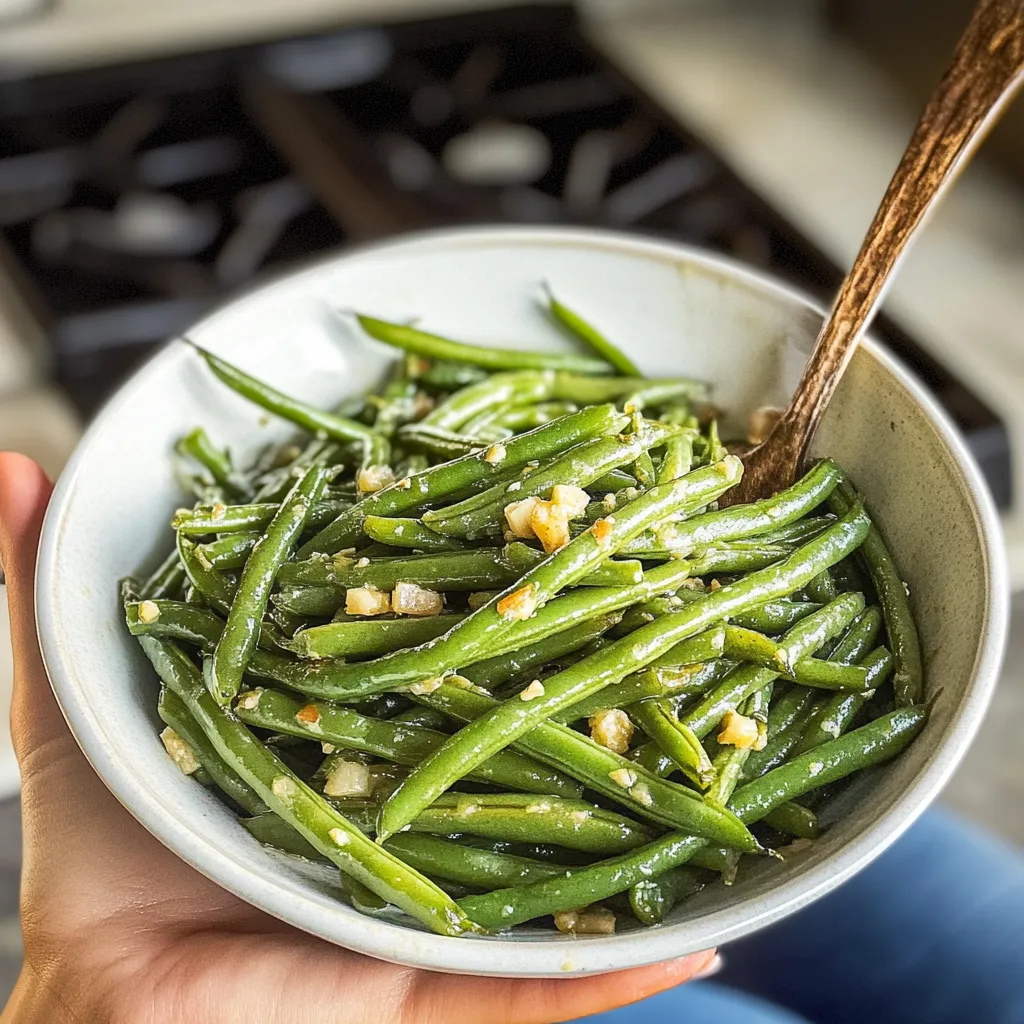
These sautéed green beans pair beautifully with roasted chicken grilled steak or even a simple pasta dish. For a complete meal consider serving them alongside mashed potatoes and meatloaf or with rice and a piece of broiled fish. The versatility of this side dish makes it appropriate for everything from casual family dinners to holiday feasts.
 Pin
Pin
Recipe FAQs
- → Can I use fresh green beans instead of frozen?
Yes! Fresh green beans work wonderfully in this dish. Trim the ends and cook them for 2-3 additional minutes to ensure they become tender. Fresh beans may require a quick blanch before sautéing for the best texture.
- → Why do the green beans need to be thawed before cooking?
Thawing prevents excess moisture release during cooking, which helps the beans get a better sear rather than steaming. This results in a crisper texture and more concentrated flavor in the final dish.
- → Can I make this dish ahead of time?
While best served fresh, you can prepare these green beans up to a day ahead. Reheat them in a skillet over medium heat with a splash of olive oil, or microwave until just warmed through. The texture will soften slightly but the flavor remains delicious.
- → What main dishes pair well with these green beans?
These versatile garlic green beans complement almost any protein - try them with roasted chicken, grilled steak, baked fish, or pork chops. They also work beautifully alongside pasta dishes or as part of a vegetarian meal with grains.
- → How can I add more flavor variations to this dish?
Enhance your green beans with red pepper flakes for heat, lemon zest for brightness, toasted almonds for crunch, or a sprinkle of parmesan cheese before serving. Balsamic vinegar or soy sauce can add depth, while fresh herbs like thyme or parsley bring freshness.
- → Are these green beans healthy?
Yes! At just 97 calories per serving, these green beans are nutritious with 3g of fiber, vitamins A and C, plus minerals like potassium and iron. The small amounts of butter and oil add flavor while keeping the dish relatively low in fat.