
 Pin
Pin
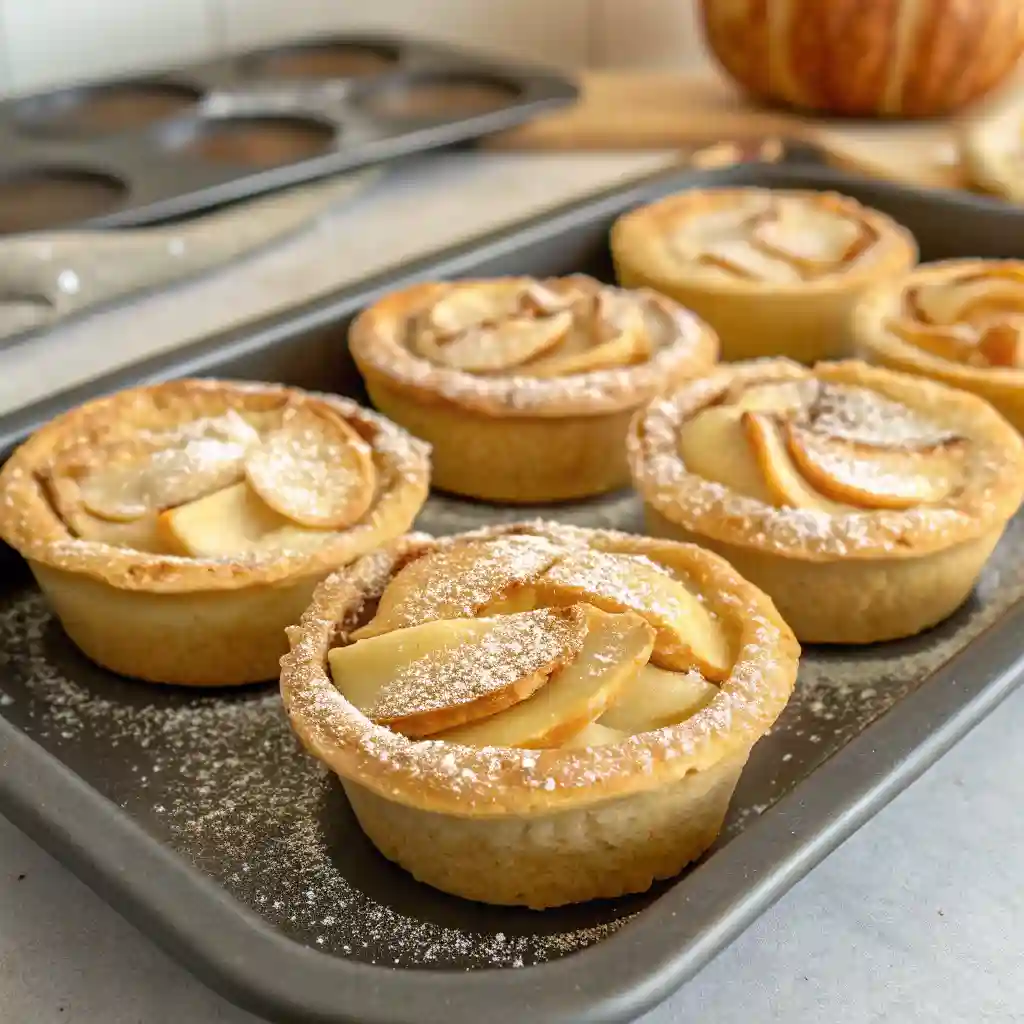
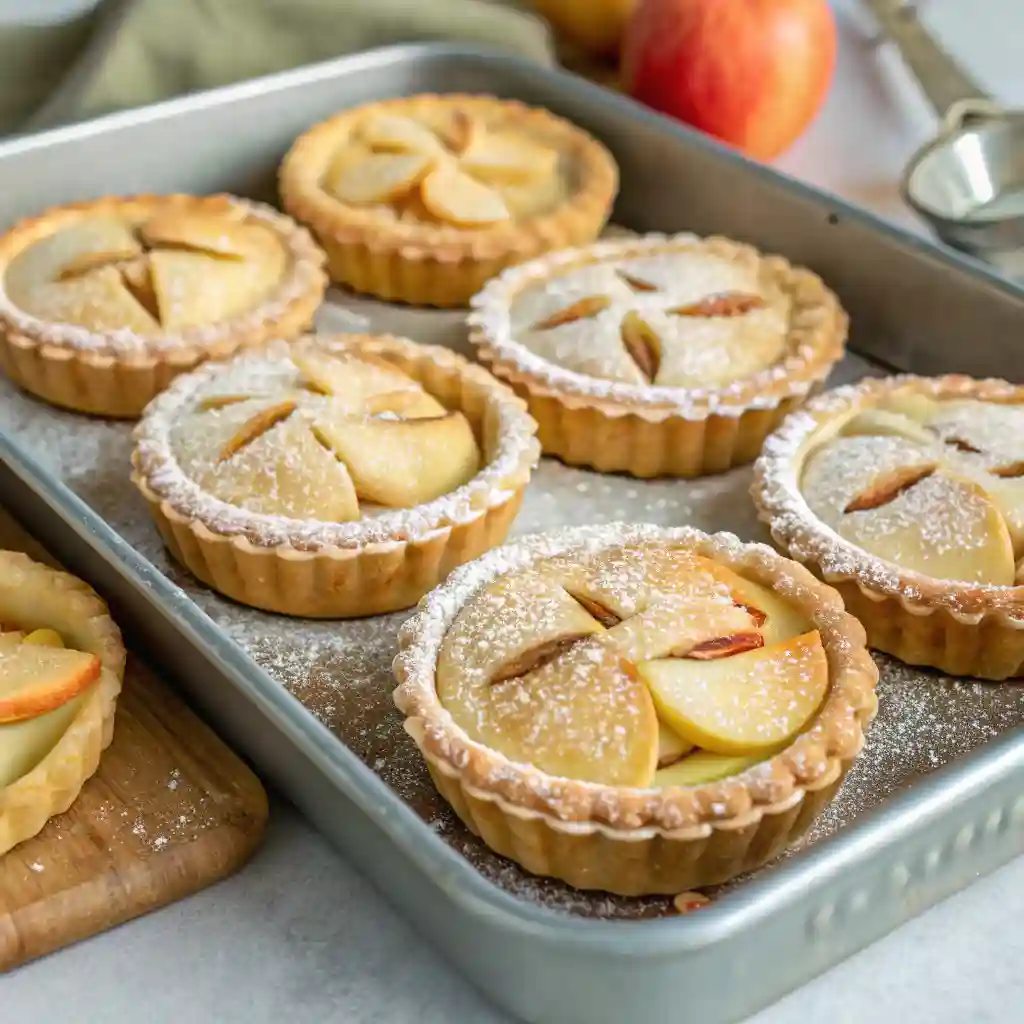
This rustic mini apple pie recipe transforms simple ingredients into perfect handheld treats that capture all the flavors of traditional apple pie. I've been making these for years as an alternative to full-sized pies, and they're always the first dessert to disappear at gatherings.
I first created these during apple-picking season when I had bushels of fresh apples but wanted something more portable than traditional pie. Now they're requested at every family gathering from fall through winter.
Ingredients
For the crust
- All-purpose flour: forms the foundation of our flaky crust. Look for unbleached for best flavor
- Salt: enhances the flavor and strengthens the dough structure
- Unsalted butter: must be cold to create those perfect flaky pockets. Quality butter makes a difference here
- Cold water: helps bind the dough without activating too much gluten. Use ice water for best results
For the filling
- Baking apples: choose firm varieties that hold their shape when baked
- Granulated sugar: balances the tartness of the apples
- Ground cinnamon: provides that classic warm apple pie flavor
- Ground allspice: adds complexity and depth to the filling
- Egg: creates that beautiful golden brown finish when brushed on top
- Water: thins the egg wash for easier application
Step-by-Step Instructions
- Prepare the dough base:
- Combine flour and salt in a medium bowl, whisking thoroughly to distribute the salt evenly. The uniform distribution ensures consistent flavor throughout the crust.
- Cut in the butter:
- Work quickly with cold butter using a pastry cutter or two knives, cutting until you see lentil-sized crumbs. These small pieces of butter create the flaky texture when they melt during baking and create steam pockets.
- Add water and form dough:
- Drizzle ice water over the mixture and toss with a fork until it begins to hold together. Gently knead just until combined on a clean surface. Overworking will develop gluten and make your crust tough rather than tender.
- Chill the dough:
- Form the dough into a disk, wrap tightly in plastic, and refrigerate for at least 30 minutes. This resting period allows the gluten to relax and the butter to firm up again, which is crucial for a flaky texture.
- Roll and cut circles:
- On a lightly floured surface, roll the dough to 1/6-inch thickness, then cut twelve 4-inch circles. You will need to gather scraps and reroll once. Work quickly to keep the butter cold.
- Prepare apple filling:
- Mix chopped apples with sugar, cinnamon, and allspice in a bowl. The small dice allows the filling to cook quickly and makes sealing the pies easier.
- Assemble the mini pies:
- Place a tablespoon of filling on one side of each dough circle, leaving a border. Brush edges with egg wash to create a good seal.
- Form and seal:
- Fold dough over filling to create half-moon shapes and press edges with a fork to seal completely. The fork marks not only seal the pies but add a decorative touch.
- Prepare for baking:
- Arrange pies on a parchment-lined baking sheet, brush tops with egg wash, and cut small slits in each pie. These vents allow steam to escape and prevent the pies from bursting during baking.
- Bake to golden perfection:
- Bake at 425°F for 18-20 minutes until deeply golden. The high temperature helps create that perfectly flaky crust.
My secret for these pies is mixing Granny Smith with Honeycrisp apples for the perfect balance of tartness and sweetness. My grandmother taught me this trick, and these little pies remind me of baking with her every fall when the apple trees in her backyard were heavy with fruit.
Make-Ahead Options
These mini pies can be assembled completely, then frozen unbaked on a sheet pan until solid. Once frozen, transfer to freezer bags for storage up to 3 months. When ready to bake, place frozen pies directly on a baking sheet, brush with egg wash, and add about 5 minutes to the baking time. This makes them perfect for unexpected guests or when you want a quick homemade dessert without the prep work.
Perfect Apple Selection
The key to exceptional apple pies is selecting the right apples. Look for varieties that hold their shape during baking and offer a balance of sweetness and acidity. Granny Smith provides tartness and structural integrity, while Honeycrisp adds sweetness and juicy texture. Other excellent options include Braeburn, Jonagold, or Pink Lady. Avoid softer varieties like McIntosh or Red Delicious, which turn mushy during baking and release too much liquid.
Serving Suggestions
These mini apple pies are delicious on their own but reach new heights with thoughtful accompaniments. Serve warm with a small scoop of vanilla ice cream or a dollop of freshly whipped cream. For special occasions, drizzle with homemade caramel sauce or dust with powdered sugar. They make a perfect dessert for dinner parties but are equally wonderful as a special breakfast treat or packed in lunch boxes.
 Pin
Pin
 Pin
Pin
Recipe FAQs
- → Can I make these mini apple pies ahead of time?
Yes! You can prepare the dough up to 3 days in advance and keep it refrigerated. Alternatively, make the entire pies and store them in the refrigerator for up to 4 days. For best results, reheat in the microwave or a warm oven before serving.
- → What are the best apples to use for these mini pies?
Firm baking apples that hold their shape when cooked work best. A mix of tart Granny Smith and sweet Honeycrisp apples creates wonderful flavor complexity, but you can also use varieties like Braeburn, Pink Lady, or Jonagold.
- → Can I freeze these mini apple pies?
Absolutely! These freeze beautifully both before or after baking. To freeze unbaked pies, place them on a baking sheet until solid, then transfer to freezer bags. Bake straight from frozen, adding a few extra minutes to the cooking time. Baked pies can be frozen for up to 3 months and reheated in the oven.
- → How do I know when the mini pies are done baking?
The mini pies are done when the crust turns golden brown and you can see the filling bubbling slightly through the slits. The baking time is typically 18-20 minutes at 425°F, but visual cues are most reliable.
- → Can I make these with a different fruit filling?
Yes! This versatile dough works beautifully with many fruit fillings. Try peaches, cherries, blueberries, or a mixed berry blend. Just make sure to adjust the sweetness and spices according to the fruit you're using, and be mindful that juicier fruits may need a bit of cornstarch to prevent soggy crusts.
- → Why is it important to chill the dough?
Chilling the dough for at least 30 minutes allows the gluten to relax and the butter to firm up. This results in a flakier texture when baked and makes the dough easier to handle when rolling and shaping. Don't skip this important step!