
 Pin
Pin
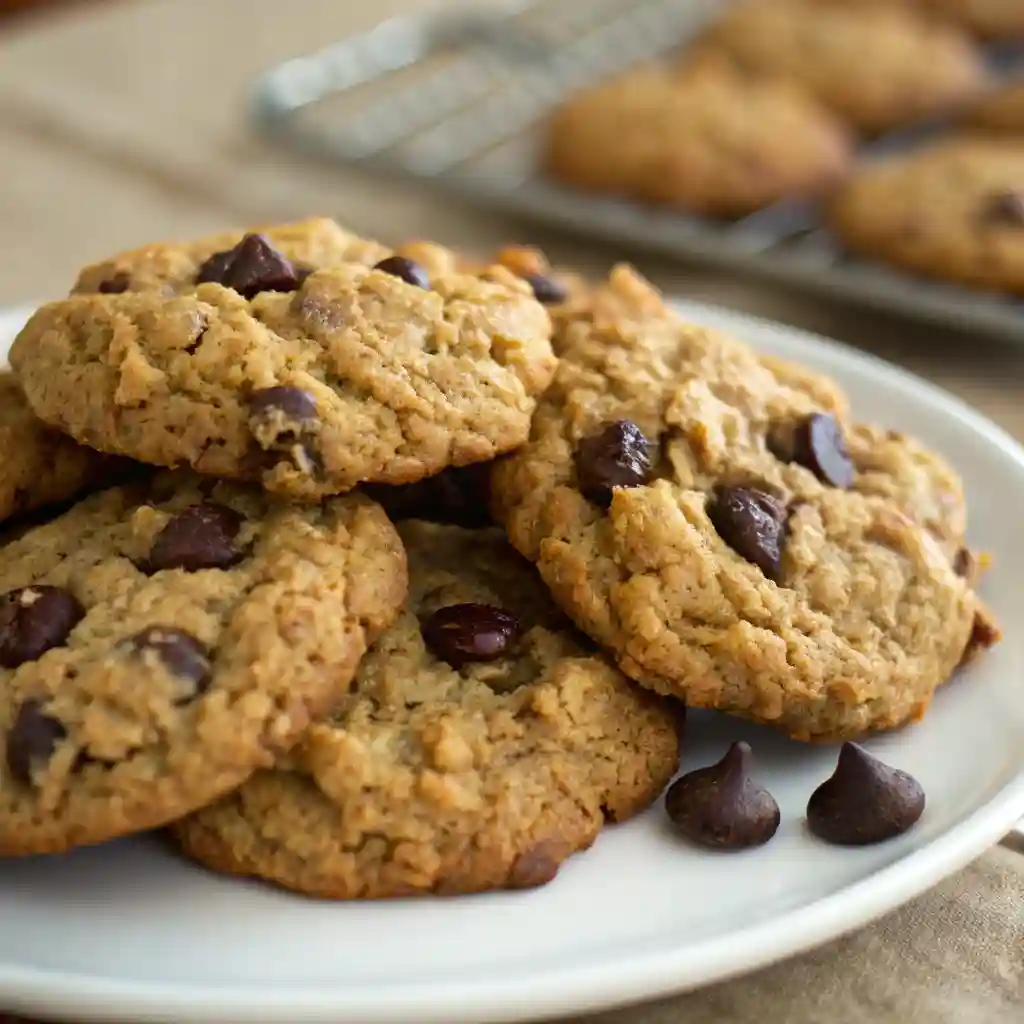
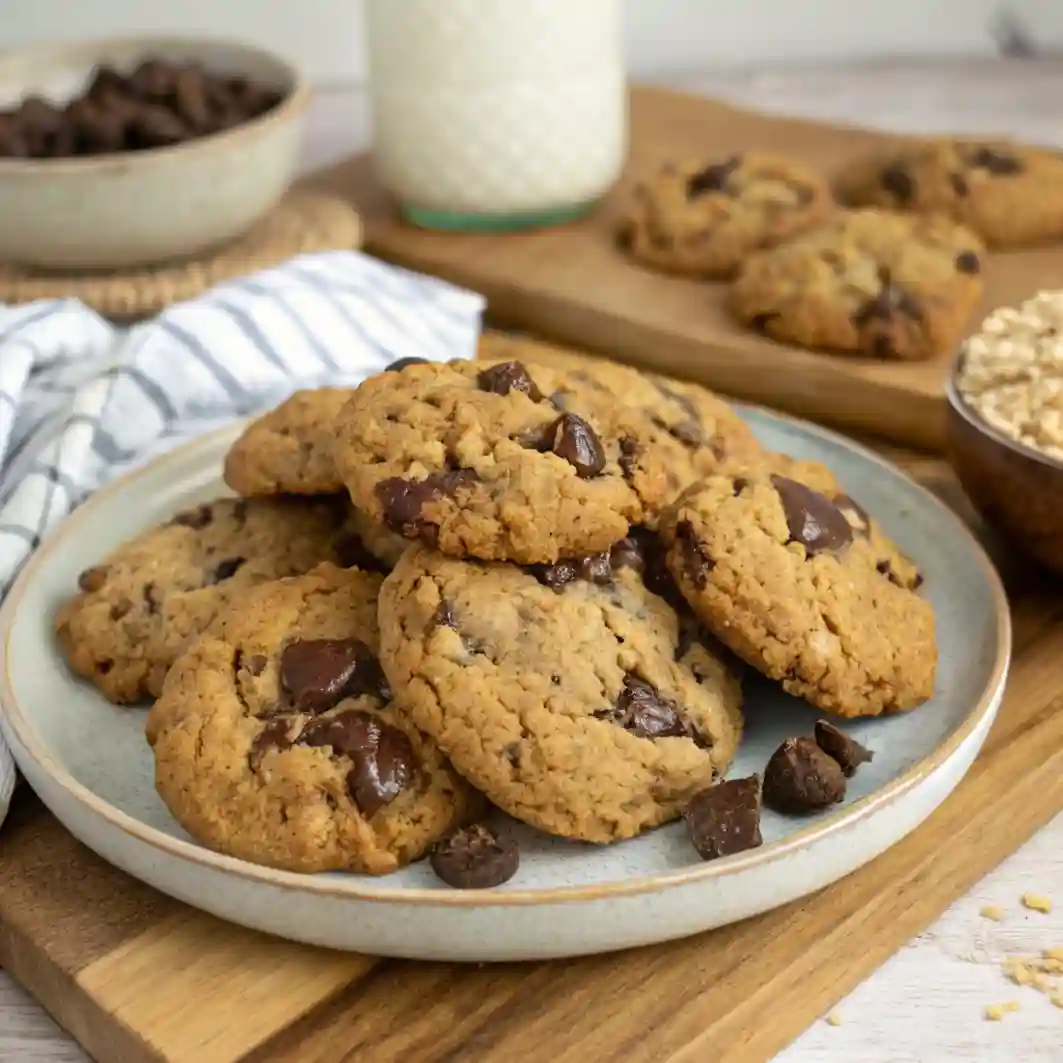
This thin and chewy oatmeal chocolate chip cookie recipe delivers crisp edges and a rich buttery flavor that marries the best qualities of classic chocolate chip cookies with the hearty texture of oatmeal cookies. Perfect when enjoyed warm with milk or as part of your holiday cookie spread.
I discovered this recipe during a weekend baking session with my daughter, and it has since become our go to cookie for afterschool snacks. The butter to oat ratio creates that perfect texture that keeps everyone reaching for just one more.
Ingredients
- All purpose flour: creates the perfect structure without being too dense
- Baking powder and baking soda: work together for ideal rise and spread
- Unsalted butter: provides rich flavor control your salt level separately
- Combination of granulated and brown sugars: for both sweetness and moisture
- Room temperature egg: ensures proper incorporation into the batter
- Vanilla extract: adds depth and warmth to the overall flavor
- Old fashioned rolled oats: provide that signature chewy texture
- Semisweet chocolate chips: balance sweetness with slight bitterness
- Flaked sea salt: sprinkled on top creates flavor contrast and visual appeal
Step-by-Step Instructions
- Prepare Your Workspace:
- Preheat oven to 350ºF and line three baking sheets with parchment paper. This preparation ensures you can work efficiently once your dough is mixed. The parchment prevents sticking and promotes even browning on the bottoms.
- Mix Dry Ingredients:
- Whisk flour, baking powder, baking soda, and salt together in a small bowl until thoroughly combined. Whisking distributes the leavening agents evenly throughout the flour, which leads to consistent texture in every cookie.
- Cream Butter and Sugars:
- Beat butter with both sugars until the mixture becomes noticeably lighter in color and fluffy in texture, about one full minute. This process incorporates air into the batter, which helps create those delightful crispy edges.
- Add Wet Ingredients:
- Beat in the egg completely, followed by vanilla extract. Make sure the egg is fully incorporated before adding the vanilla, as this ensures proper emulsification of the fats and liquids in your dough.
- Incorporate Flour Mixture:
- Add all the dry ingredients at once and mix on low speed just until no dry flour is visible. Overmixing at this stage can activate too much gluten, resulting in tough cookies rather than tender ones.
- Add Oats and Chocolate:
- Gently mix in the oats and chocolate chips on low speed just until incorporated. The minimal mixing preserves the texture of the oats and prevents the chocolate from breaking down too much.
- Shape and Prepare:
- Form dough into 2 tablespoon balls and place them 3 inches apart on prepared baking sheets. Use your fingertips to gently flatten each ball to about 3/4 inch thickness, which helps them spread evenly during baking.
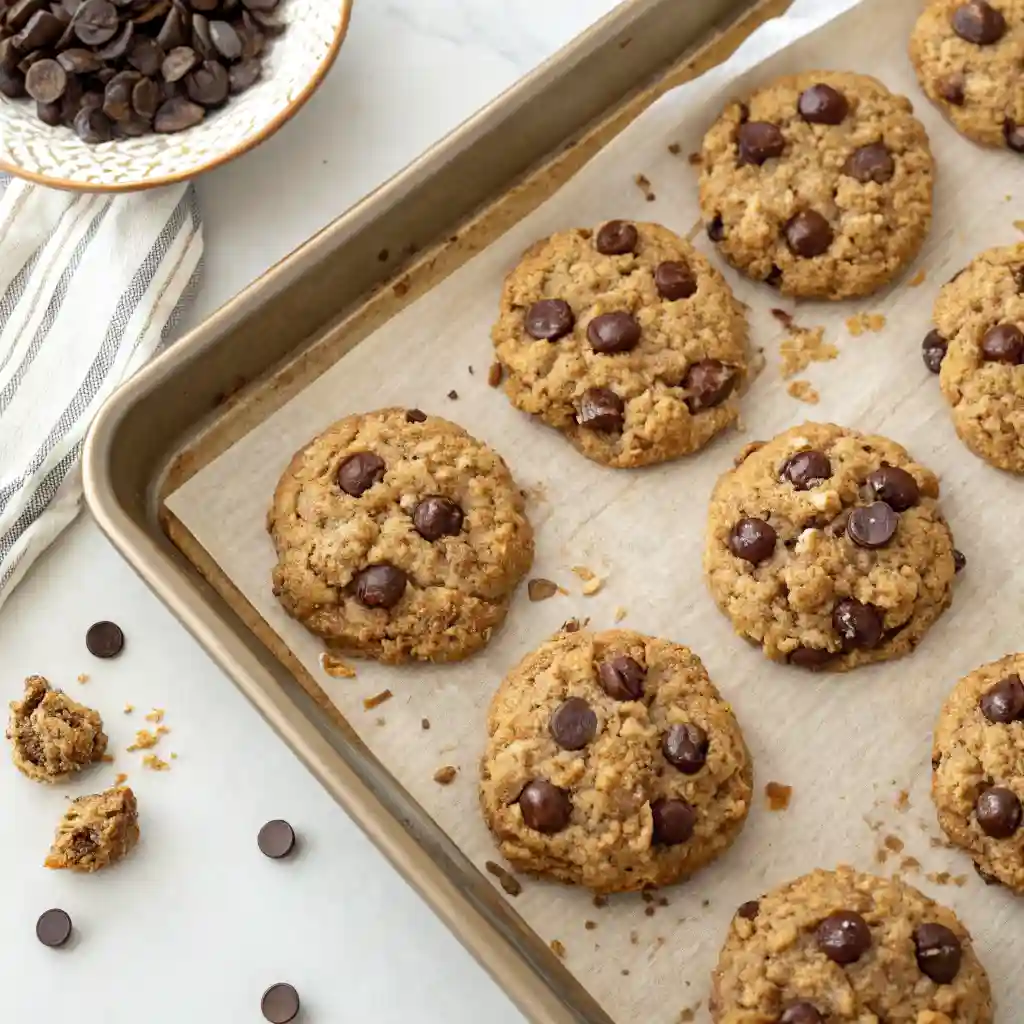
- Bake to Perfection:
- Sprinkle with sea salt and bake for 11 to 13 minutes until the edges turn golden and crisp. The centers may look slightly underbaked, but they will continue to cook from residual heat after removal from the oven.
- Cool Properly:
- Let cookies cool on the baking sheet for 5 minutes before transferring to a wire rack. This brief resting period allows them to set up enough to move without breaking while continuing to develop flavor.
 Pin
Pin
The flaked sea salt is truly my secret weapon in this recipe. I discovered its transformative power during a baking class years ago, and now I keep Maldon salt on hand specifically for finishing cookies. That little burst of saltiness against the sweet chocolate creates a flavor complexity that makes people ask for the recipe every time.
The Importance of Room Temperature Ingredients
Working with room temperature butter and eggs creates a properly emulsified dough that bakes evenly. Cold ingredients don't incorporate well, while too warm butter can make cookies spread too much. I find that setting butter out for about 45 minutes before baking gives that perfect consistency where it yields when pressed but isn't melty or oily. This small detail makes a noticeable difference in the final texture.
 Pin
Pin
Oat Selection Matters
The type of oats you use dramatically affects the texture and appearance of your cookies. Old fashioned rolled oats maintain their structure during baking, creating that signature chewy bite and visible oat texture. Quick oats or instant oats absorb more moisture and break down during mixing, resulting in a denser, less textured cookie. I also found that different brands of oats can vary in thickness and moisture content. Quaker oats consistently perform well in this recipe, creating cookies with the ideal spread.
Make Ahead and Storage Solutions
These cookies maintain their delicious texture for several days when stored properly. Keep them in an airtight container at room temperature, and they'll stay fresh for up to three days. For longer storage, the freezer is your friend. Both baked cookies and raw dough freeze exceptionally well. For ready to bake treats, shape the dough into balls and freeze them on a baking sheet until solid, then transfer to a freezer bag. You can bake them directly from frozen, adding just a minute or two to the baking time. This method has saved countless last minute gatherings when unexpected guests arrive.
Recipe FAQs
- → Why did my cookies spread too much during baking?
Excessive spreading usually happens when butter is too soft or melted. Make sure your butter is softened but still cool to touch. Also, using quick-cooking oats instead of old-fashioned rolled oats can cause spreading, as they absorb less moisture than rolled oats.
- → Can I substitute quick oats for old-fashioned oats?
It's not recommended for this specific cookie. Quick oats absorb moisture differently and will alter both the texture and spread of the cookies. The recipe specifically calls for old-fashioned rolled oats to achieve the perfect chewy texture with crisp edges.
- → What's the purpose of flattening the dough balls before baking?
Flattening the dough balls to about 3/4 inch thick helps control how the cookies spread and ensures even baking. This technique contributes to achieving those desirable thin cookies with perfectly crisp edges and chewy centers.
- → Why add sea salt on top of sweet cookies?
The flaked sea salt creates a flavor contrast that enhances both the sweetness and the buttery notes in the cookies. Salt is a flavor enhancer that makes the chocolate taste more chocolatey and brings out all the nuanced flavors in the cookie.
- → How can I ensure my cookies have chewy centers?
Don't overbake them! Remove the cookies from the oven when the edges are golden but the centers still look slightly underdone (11-13 minutes at 350°F). They'll continue cooking slightly on the hot baking sheet for the 5 minutes of cooling time specified in the recipe.
- → Can I use dark brown sugar instead of light brown sugar?
Yes, you can substitute dark brown sugar, but it will result in cookies with a stronger molasses flavor and slightly more moisture. This might make your cookies a bit chewier and darker in color, but still delicious.