
 Add to Favorites
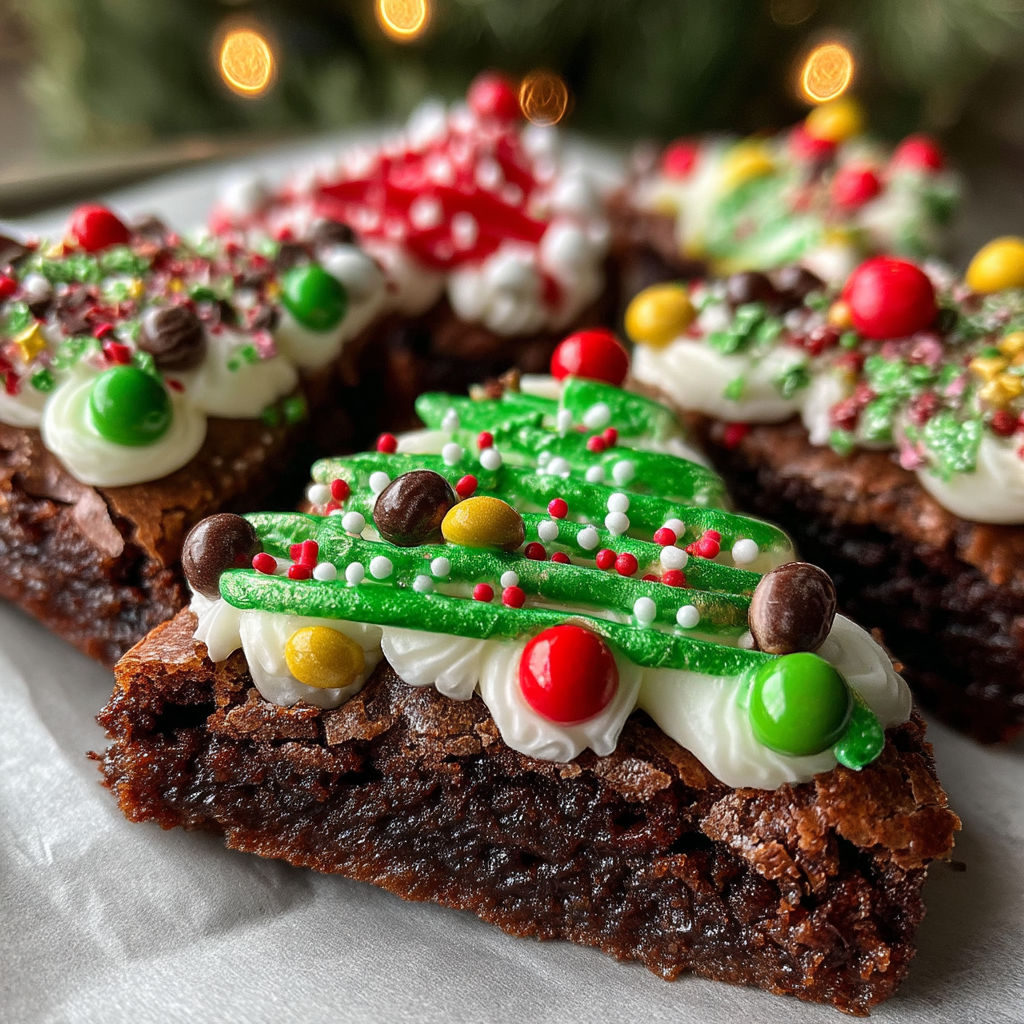
Festive Christmas brownie shapes bring a playful twist to classic brownies with vibrant buttercream frosting and cheerful toppings. These treats are perfect for holiday gatherings, cookie exchanges, or a fun family baking day. From cutting whimsical trees and stars to adding dazzling sprinkles, each bite delivers soft, fudgy chocolate with a sweet decorative crunch that just feels like Christmas.
I first made these brownies as an afternoon project with my kids before our annual tree trimming. Now it is a must every December and everyone gets so excited to pick their own shapes.
Ingredients
- Double batch of chewy brownies: packed with rich cocoa for deep flavor choose a quality cocoa powder for the best base
- Nine by thirteen inch metal baking pan lined with parchment or foil: this ensures easy lifting and cleaner shapes
- Batch of homemade buttercream frosting: creamy and easy to tint with gel colors use unsalted butter for a balanced taste
- Gel food coloring: a little gives vibrant colors choose gel over liquid for intense hues without thinning
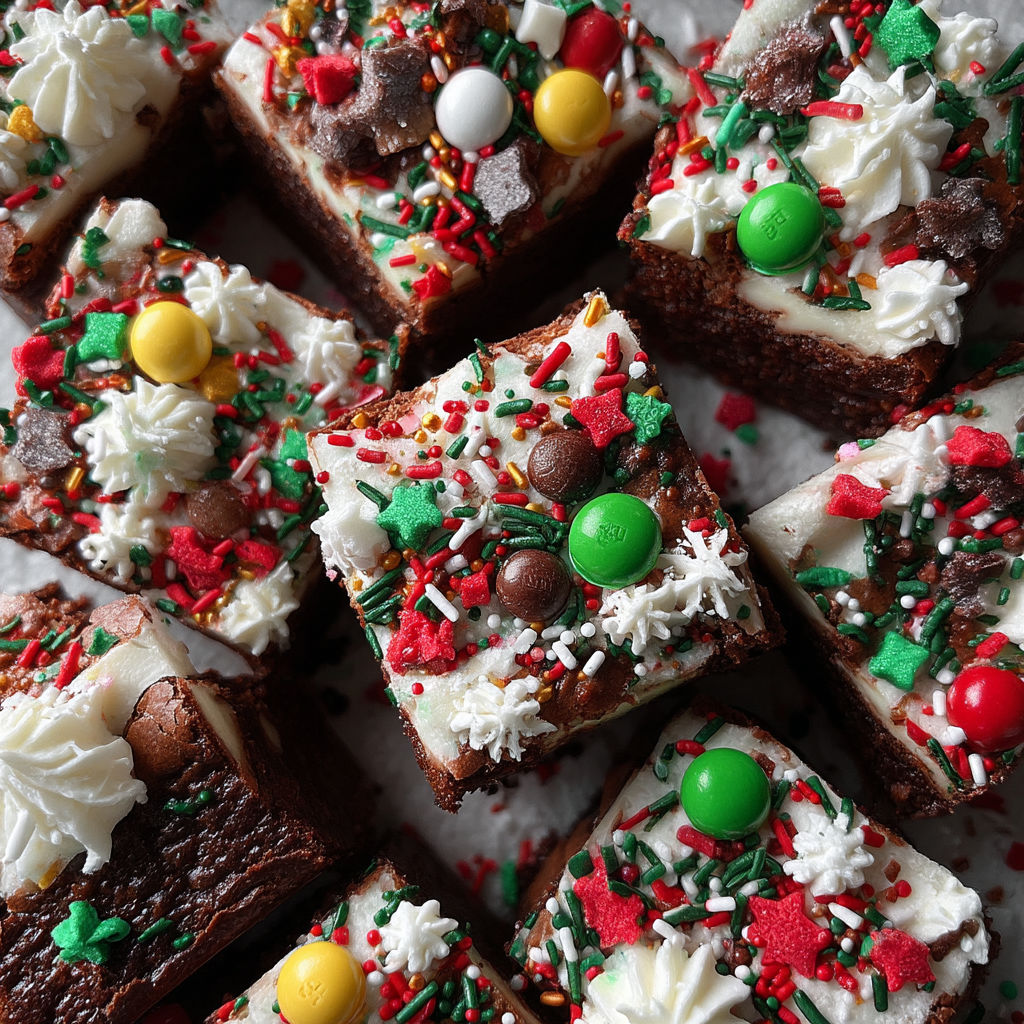
- Assorted sprinkles: add crunch and sparkle seek out holiday mixes for a festive pop
- Mini M and Ms: a playful touch with chocolate flavor pick classic red and green for the season
- Mini chocolate chips: subtle texture boost shiny and perfect for details
- Other edible decorations: let your creativity run
Instructions
- Prepare the Batter:
- Start by making a double batch of your favorite chewy brownie batter. Use a large bowl and mix until no streaks of flour remain so every bite is perfectly moist
- Bake the Brownies:
- Spread the batter evenly into your lined nine by thirteen inch metal pan. Bake until the center is just set and a toothpick comes out fudgy not dry. Let the pan cool completely for easiest cutting
- Mix and Tint Buttercream:
- Prepare a batch of classic buttercream. Beat until light and smooth adding just a touch of gel food coloring per bowl for bolder tones. Separate into several bowls if using different colors
- Cut Festive Shapes:
- Lift the cooled brownie slab from the pan using the parchment. Use sturdy metal cookie cutters in holiday shapes and press firmly to get clean edges. Wipe cutters as you go for sharp lines
- Frost with Care:
- Use a small offset spatula or piping bags to spread or pipe colored buttercream onto each brownie shape. Go for smooth swoops or textured looks depending on your chosen designs
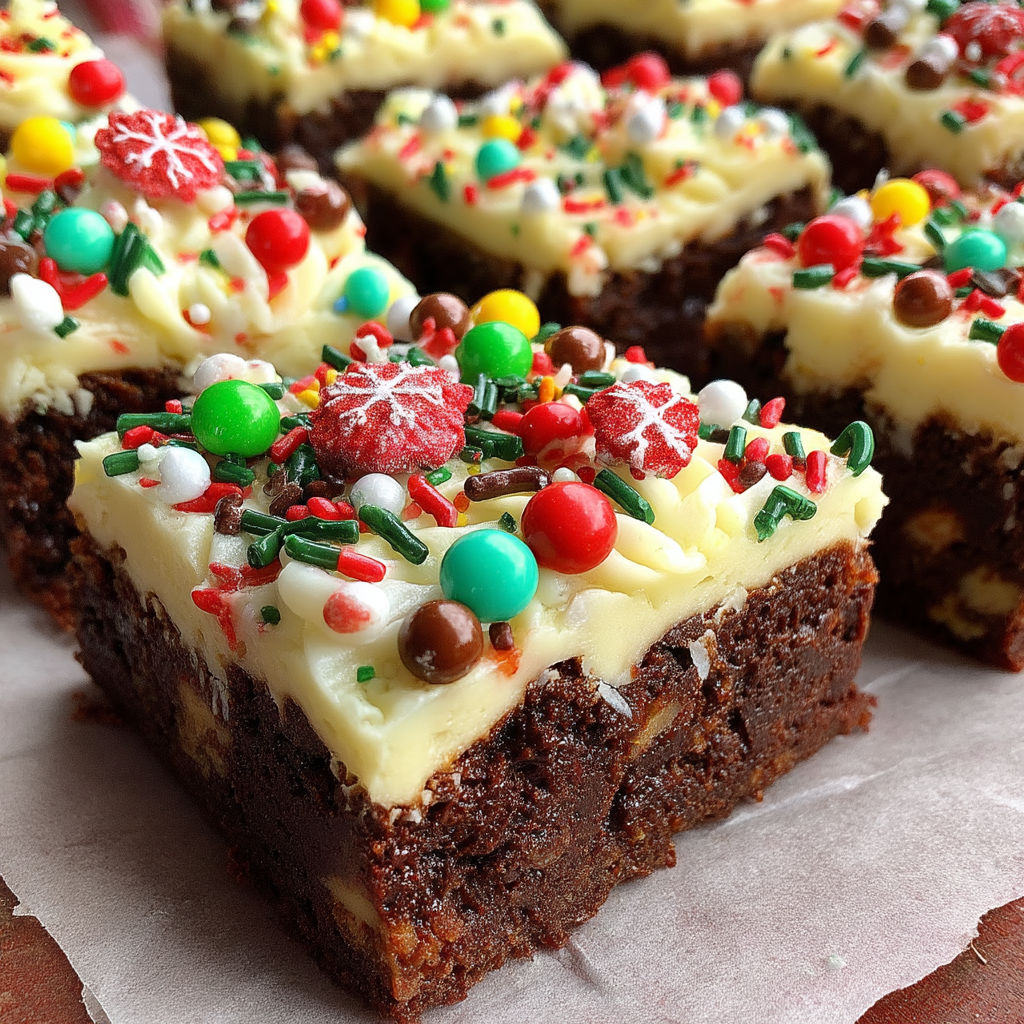
- Add Decadent Decorations:
- Finish by scattering sprinkles mini M and Ms and all your favorite edible bits. Press larger decorations gently so they stay put
- Let Set and Serve:
- Set the decorated brownies aside for at least thirty minutes so the frosting firms up before transferring to a platter
One of my favorite parts is picking out new sprinkles to try every year. My kids always compete to see who can cram the most decorations on the tiniest star. Brownies disappear fast because everyone wants to show off their creation before eating it.
Storage Tips
Place finished brownies in a single layer in a large airtight container. If you need to stack them use sheets of parchment in between. Room temperature is perfect for up to three days because they stay soft and moist
Ingredient Substitutions
No M and Ms on hand Use mini marshmallows or pretzel pieces for texture. For a dairy free version try plant based butter for both brownies and frosting and check that decorations are suitable
Serving Suggestions
Arrange brownies on a large platter surrounded by peppermint candies or fresh berries. They add color to any dessert table or make the perfect edible gift wrapped in cellophane bags
Cultural and Historical Context
Brownies have been a holiday staple in American baking since the early twentieth century. Decorating them with frosting and fun shapes is a more recent trend that merges classic tradition with the playfulness of sugar cookies
Seasonal Adaptations
Cut out spring shapes for Easter using pastel frosting Opt for hearts and red sprinkles for Valentine sweets Make spooky ghost and pumpkin brownies for Halloween
I learned after a few messy tries that lining the pan carefully makes lifting and cutting so much easier. Also if you let kids decorate you will never have two brownies that look the same but that is the best part
Recipe FAQs
- → How do I ensure brownies are easy to cut into shapes?
Allow brownies to cool completely and even chill them in the fridge before using cookie cutters. This makes cutting clean shapes much easier, preventing crumbling.
- → Can I use different colored frostings?
Yes, gel food coloring can be mixed into buttercream to create a range of festive hues. Separate the frosting into bowls and tint each as desired.
- → What kind of edible decorations work best?
Sprinkles, mini M&Ms, mini chocolate chips, and shaped candies are all great options. Choose colors to match your occasion or theme.
- → Do I need special tools to create the shapes?
Cookie cutters in holiday or festive designs work best, but you can also cut shapes freehand with a sharp knife if needed.
- → How should I store decorated brownie shapes?
Keep decorated brownies in an airtight container at room temperature for up to three days. If using perishable decorations, refrigerate if needed.