
 Add to Favorites
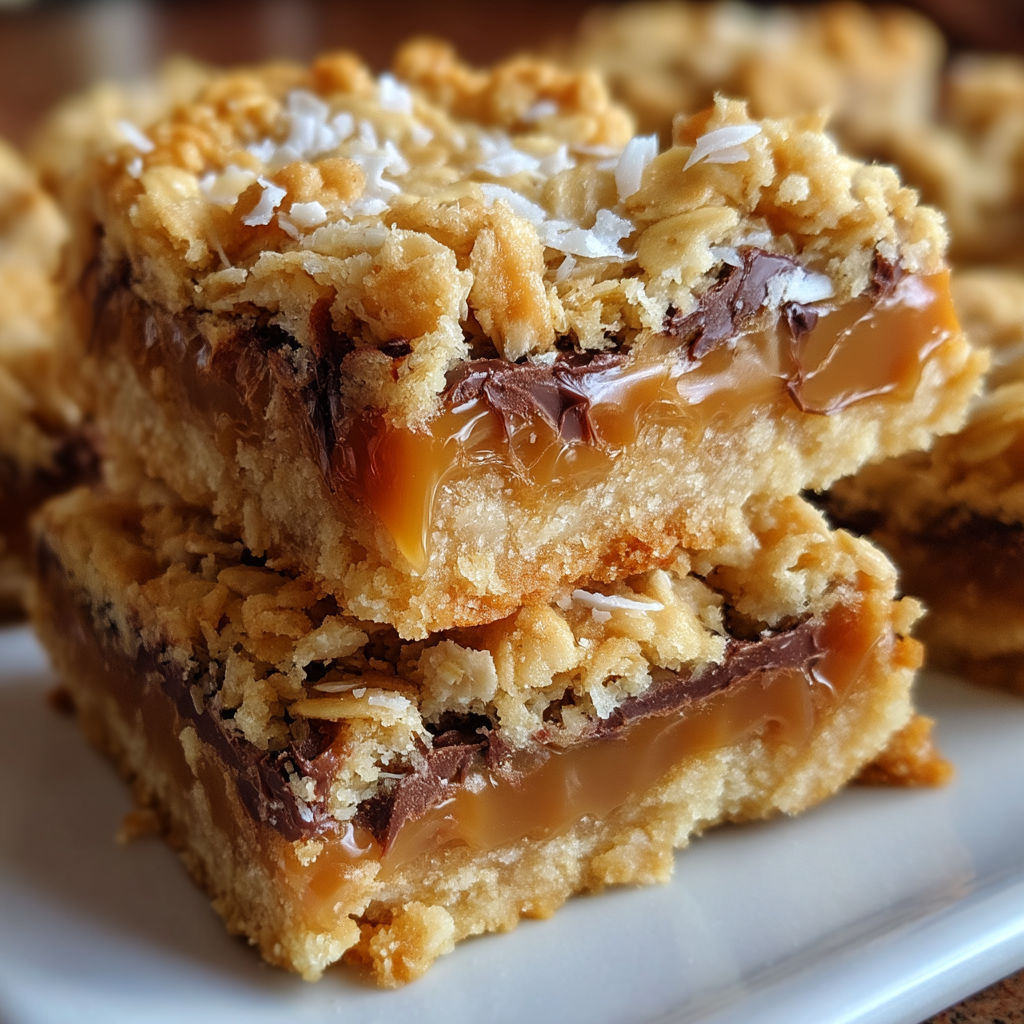
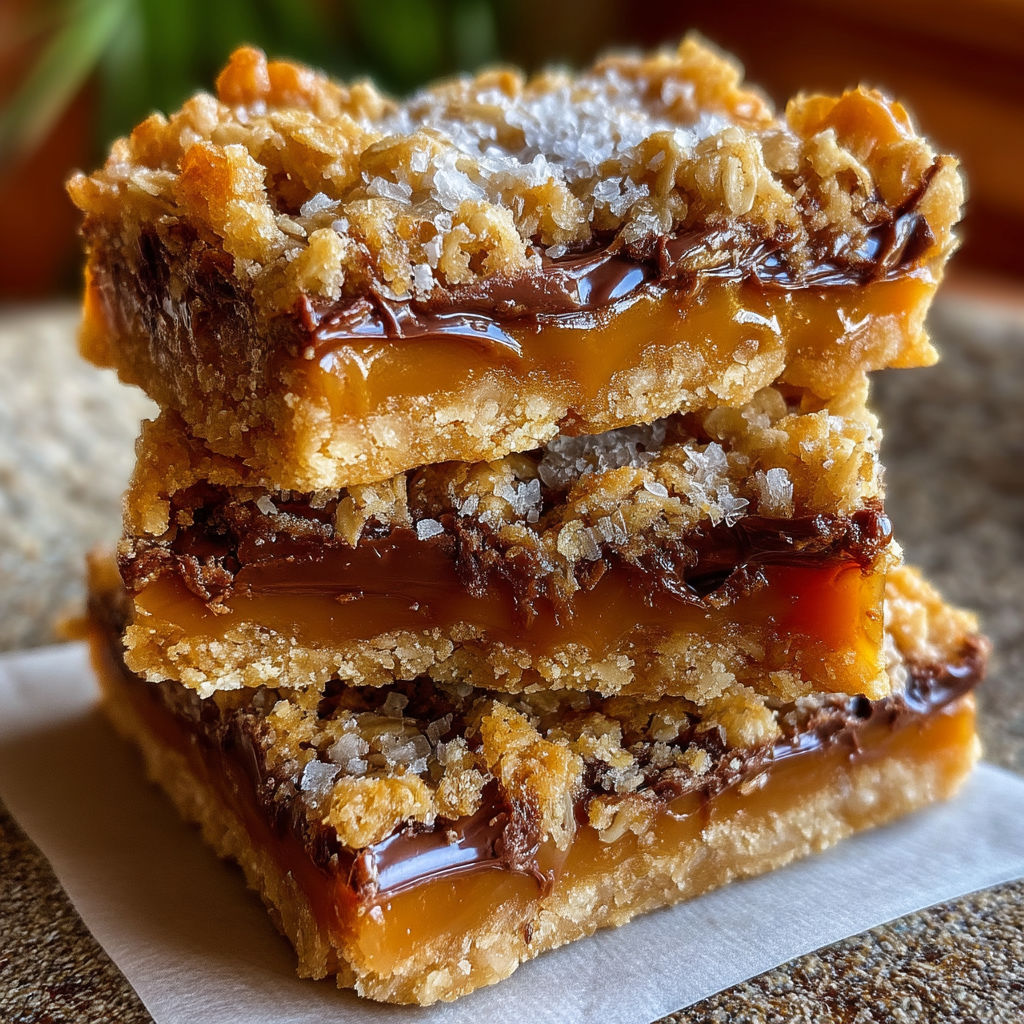
Carmelitas are one of those outrageously indulgent bars that win over any dessert table with their gooey layers and buttery crunch. I always pull out this recipe when I want a guaranteed crowd-pleaser for potlucks or family gatherings. The combination of oatmeal cookie dough, melty chocolate, and chewy caramel is truly irresistible.
This was the first dessert I ever made for my sister’s birthday and it disappeared before dinner was served. Now it is a tradition every year and the pan is always scraped clean.
Ingredients
- All purpose flour: brings structure to the bars and holds every layer together. Choose a fresh unbleached flour for best results
- Old fashioned oats: provide a heartier chew than quick oats and toasted oats will add even more nutty flavor
- Salted butter: creates both richness and flavor. Use high quality butter for the best cookie base
- Light brown sugar: gives a caramel taste and soft chew. Pack it tightly in your measuring cup
- Pure vanilla extract: enhances every single layer. True vanilla makes a difference so avoid imitation
- Baking soda: helps keep the bars soft and tender
- Kosher salt: sharpens all the flavors and balances the sweetness. Use flaky salt if you prefer a touch on top
- Milk chocolate chips: melt gently for a creamy chocolate layer. Use good quality chips for optimal taste
- Individually wrapped caramels: create that gooey signature swirl and are easy to find in stores
- Heavy cream: helps melt the caramels smoothly for a luscious sauce
Instructions
- Prepare the Cookie Base:
- Combine flour oats melted butter brown sugar vanilla extract baking soda and salt in a large bowl. Mix until you see no more dry spots. Press about half of this mixture firmly and evenly into a well-greased baking pan using clean hands or the bottom of a measuring cup for even packing
- Add Chocolate and Caramel:
- Scatter the chocolate chips evenly over the pressed base. In a saucepan gently heat the unwrapped caramels and heavy cream together over medium heat stirring constantly until the caramels are fully melted and the mixture is smooth. Pour this creamy caramel directly over the chocolate layer using a spatula to cover every edge
- Top with Remaining Cookie Mixture:
- Take the reserved half of the cookie dough and crumble it in clumps over the warm caramel layer. Do not worry if the caramel is not fully covered as it will bubble and peek out during baking
- Bake:
- Place the pan in a 350 degree oven and bake for twenty five to thirty minutes until the top is golden brown and you see bubbling at the edges. Allow the Carmelitas to cool completely in the pan before slicing into squares. This helps the caramel set so your bars hold their shape
My favorite part of Carmelitas is watching that caramel bubble up around the cookie crumbles as it bakes. The first bite is always a gooey mess in the best possible way and my youngest nephew always tries to steal the corner pieces with the most chocolate.
Storage Tips
Keep your Carmelitas in an airtight container at room temperature for up to four days. If you want them to last longer store them in the refrigerator but let them come to room temperature before eating for the best texture. You can also stack squares between layers of parchment paper to keep them from sticking together.
Ingredient Substitutions
You can swap out the milk chocolate chips for dark or white chocolate if you like things less sweet or a little richer. Gluten free all purpose flour works well if you need a gluten friendly batch. For the caramel layer try soft caramel candies instead of traditional wrapped ones if you want a shortcut.
Serving Suggestions
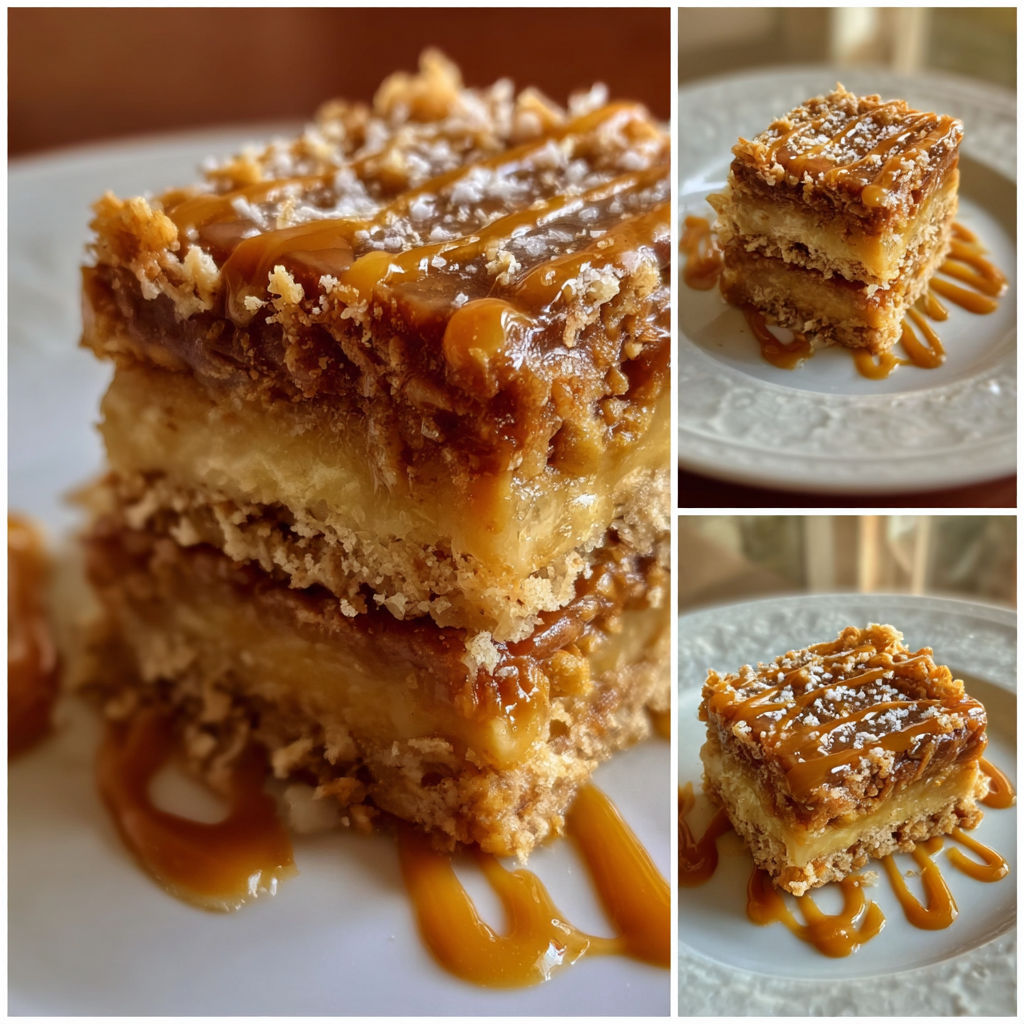
Cut into small squares for dessert tables lunches or bake sales. These pair wonderfully with a scoop of vanilla ice cream and a drizzle of extra caramel sauce. I sometimes warm slices and serve them with fresh berries on the side for a more grownup finish.
Cultural History
Carmelitas have roots in American home baking and are a classic Midwest potluck staple. Their rise in popularity came from community cookbooks in the seventies and eighties and the appeal has never faded. Some variations even use peanut butter or butterscotch chips for a local twist.
Seasonal Adaptations
Chopped toasted pecans or walnuts can be sprinkled on before baking for added crunch Swap chocolate chips for butterscotch or cinnamon chips in the fall for a cozy aroma Use dark chocolate and sprinkle flaky sea salt for an elevated winter holiday treat
Success Stories
The first time I brought Carmelitas to a new neighbor I was immediately asked for the recipe. I have friends who now beg me to make a double batch for their family reunions. Once you make these you will find they become one of your most requested recipes too.
Freezer Meal Conversion
Carmelitas freeze very well. Layer baked and cooled bars between parchment in a freezer container. They will keep for up to two months. Thaw at room temperature or give a quick zap in the microwave for a warm treat.
Once you try homemade Carmelitas you will be hooked for life. Don’t be surprised if these rich bar cookies steal the show at your next gathering.
Recipe FAQs
- → Can I use quick oats instead of old fashioned oats?
Old fashioned oats provide a chewier texture, but quick oats can be substituted in a pinch. The bars may be slightly less hearty.
- → Are there alternatives to milk chocolate chips?
Semi-sweet or dark chocolate chips can be used to adjust sweetness or for a deeper chocolate flavor.
- → What if I don't have wrapped caramels?
You can use caramel baking bits or a high-quality caramel sauce, though texture may vary slightly.
- → How do I know when the bars are done baking?
Look for a golden brown top and set edges. The center will firm up as it cools, so avoid overbaking.
- → How should these bars be stored?
Keep them in an airtight container at room temperature for up to 4 days, or refrigerate for longer freshness.