
 Add to Favorites
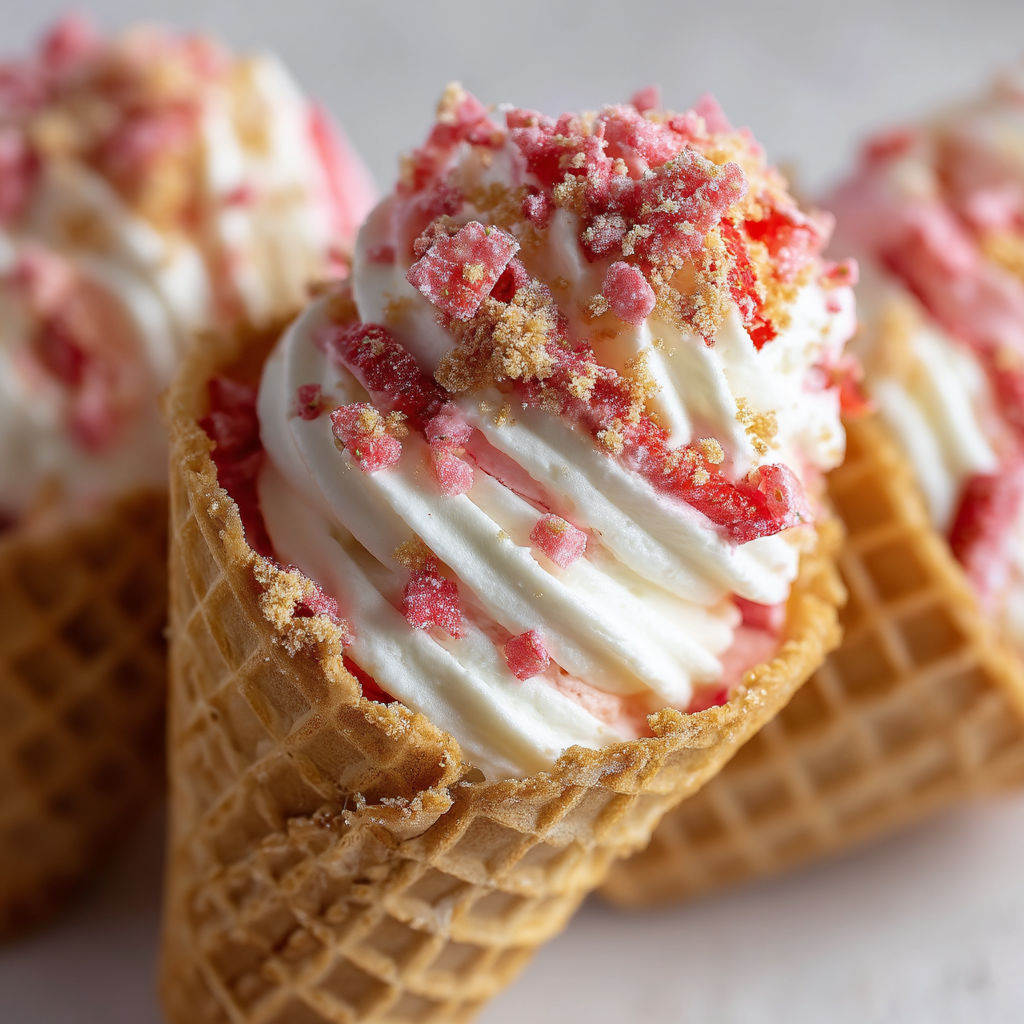
Strawberry Crunch Cheesecake Cones are a playful dessert that deliver all the joy of classic strawberry crunch bars and creamy cheesecake in a portable cone. These are a crowd-pleaser for parties and summer days when no one wants to fuss with plates and forks.
I whipped these up for my niece’s birthday picnic the first time and every cone vanished before I could even set them down. Now I make them for every summer family gathering.
What You'll Need
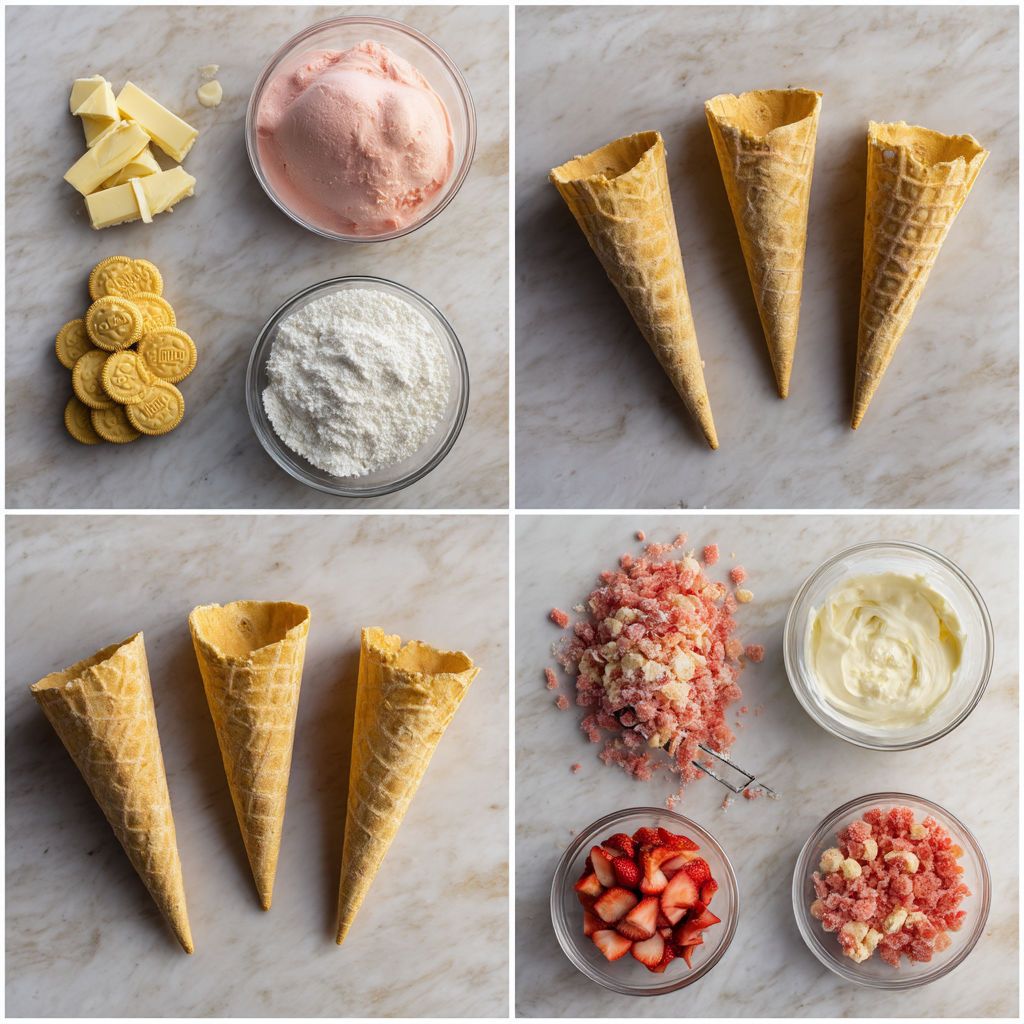
- Golden Oreo cookies: create the signature sweet crunch layer—crush them finely for best texture
- Unsalted butter: helps the cookie crumbs stick to the cone—use good quality for rich flavor
- Strawberry gelatin powder: adds fruity color and bold strawberry taste—choose a bright, fresh-smelling brand
- White chocolate melting wafers: coat the cones and help the crunch stick—look for Ghirardelli or similar quality brands for easy melting
- Waffle cones: hold everything together—try to find fresh, crisp cones without cracks
- Heavy cream: makes the cheesecake filling light and fluffy—cold cream whips up best
- Block-style cream cheese: gives a rich tangy foundation—let it come to room temperature before using for ultra smooth filling
- Vanilla extract: rounds out the filling’s flavor—always pick pure extract for best taste
- Powdered sugar: sweetens without grittiness—sift before using for velvety results
- Fresh strawberries: for garnish—look for ripe, sweet berries with a bright red color
- Strawberry crunch topping: a small scoop brings it all together—save a little for the final touch
How to Make It
- Crush and Mix Crunch Topping:
- Place the golden Oreo cookies in a zip-top bag and crush them with a rolling pin until fine. Transfer the crumbs to a bowl and stir in the melted butter and strawberry gelatin powder. Mix until evenly combined and vibrant in color.
- Coat the Cones:
- Melt white chocolate wafers in a microwave-safe bowl using thirty second intervals. Stir until completely smooth. Dip the rim of each waffle cone into the melted white chocolate then roll it in the strawberry Oreo crumb mixture. Coat well to ensure plenty of crunch on every cone. Stand the cones upright in a glass and chill in the refrigerator to set the coating completely.
- Prepare the Cheesecake Filling:
- Pour cold heavy cream into a mixing bowl and whip on medium-high speed until stiff peaks form. In a separate large bowl beat room temperature cream cheese until creamy and smooth. Add vanilla extract and sift in the powdered sugar. Beat again until fully combined and fluffy. Gently fold the whipped cream into the cream cheese mixture in batches taking care not to deflate the whipped cream. Scrape down the sides and ensure everything is fully mixed for a pillowy filling.
- Fill the Cones:
- Spoon or pipe the cheesecake filling into each decorated cone until they are generously full. Pack gently with a spoon if needed to fill to the tip.
- Add the Garnish:
- Scatter diced fresh strawberries on top of each filled cone and sprinkle with a pinch of reserved strawberry crunch topping for extra color and texture. Chill for at least thirty minutes before serving.
I am always tempted to sneak extra strawberries into the cones because my family loves a fresh burst of fruit with their rich cheesecake filing. This dessert is both nostalgic and new for us and brings out everyone’s inner kid.
Storage Tips
Once assembled, keep the cheesecake cones refrigerated until serving to preserve the crunch and filling texture. Store upright in glasses or in a shallow pan lined with paper towels. If you want to make ahead, assemble the cones without fresh berries and crunch topping, then add those just before serving for the best texture.
Ingredient Swaps and Variations
Try swapping out the strawberry gelatin powder for raspberry or orange for new flavor combinations. Chocolate sandwich cookies can be used instead of golden Oreos for a different crunch layer. If you cannot find white chocolate melts, use almond bark or candy coating for easy dipping.
Serving Suggestions
Serve these cones chilled on a hot day alongside fresh whole strawberries or as part of a festive dessert platter. For an extra celebratory touch, drizzle more melted white chocolate over finished cones or pile on whipped cream.
A Summertime Favorite
These cones have the same magic as ice cream cones but with a cheesecake surprise inside. They have become my go-to for barbecues, kids’ parties and even late-night summer movie nights on the lawn. You can change the fruit to whatever is best at your market and always get requests for more.
Bursting with flavor and color, these cones always disappear quickly. Make a double batch if you want to guarantee leftovers!
Recipe FAQs
- → How do I keep the cones from getting soggy?
Coating the inside of each cone with white chocolate creates a barrier that helps keep the cones crisp, even after filling.
- → Can I use different cookies for the crunch?
Absolutely! You can experiment with various wafer or sandwich cookies for unique flavors and colors.
- → Is it necessary to use gelatin powder in the coating?
Strawberry gelatin powder enhances color and flavor, but you can skip it or use a different flavored powder if you prefer.
- → Can these be prepared ahead of time?
Yes, assemble and chill the cones shortly before serving to maintain the best crunch and creaminess.
- → What’s the best way to garnish the cones?
Sprinkle reserved strawberry crunch over the filling and top with diced fresh strawberries for extra flavor and presentation.