
 Add to Favorites
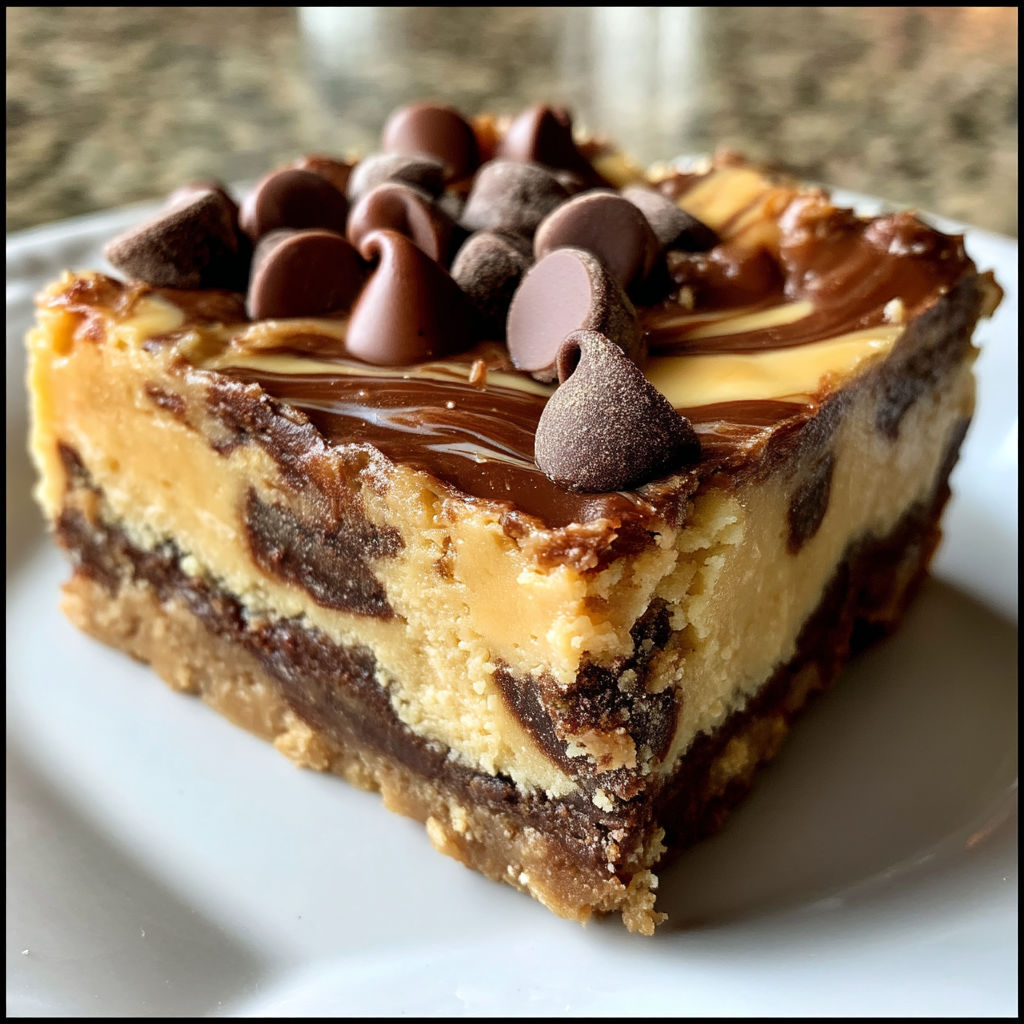
This Peanut Butter Cup Cheesecake Fudge brings together creamy cheesecake flavor with the classic duo of chocolate and peanut butter for a crowd-pleasing treat that is surprisingly quick to make. Perfect for sharing at parties or gifting during the holidays it delivers that decadent rich bite every dessert lover dreams of.
The first time I made this fudge it disappeared before it even had a chance to chill all the way. Now it is requested at every family gathering and potluck I attend.
Ingredients
- Sweetened condensed milk: provides sweetness and creamy texture be sure to use the full fat variety for best results
- Semi-sweet chocolate chips: offer rich chocolate flavor look for glossy chips without a chalky finish
- Peanut butter chips: add a nutty sweetness choose a good quality brand for smooth melting
- Butter: helps the fudge set and adds silky texture use unsalted so the fudge does not taste too salty
- Cream cheese: adds the cheesecake element making the fudge smooth and tangy always use block cream cheese at room temperature for easy mixing
- Vanilla extract: rounds out the flavors and provides warmth pure extract is worth the investment for desserts like this
Instructions
- Prepare the Pan:
- Line an eight inch square baking pan with foil and lightly grease it with butter to prevent sticking This step ensures easy fudge removal and clean edges
- Melt the Chocolate and Peanut Butter Base:
- In one microwave safe bowl combine half the sweetened condensed milk chocolate chips and one tablespoon of butter In another bowl mix the remaining condensed milk peanut butter chips and the rest of the butter Melting the chocolate and peanut butter separately keeps the flavors distinct for perfect swirling
- Microwave to Melt:
- Place both bowls in the microwave heat on high for thirty second intervals and stir each time Continue until each mixture is smooth and chips are fully melted This prevents scorching and creates an even base
- Add Cream Cheese and Vanilla:
- Stir in one teaspoon of vanilla and four ounces of cream cheese into each bowl Return both bowls to the microwave for thirty seconds on high This final melt ensures the cream cheese integrates fully making each layer extra creamy and luscious
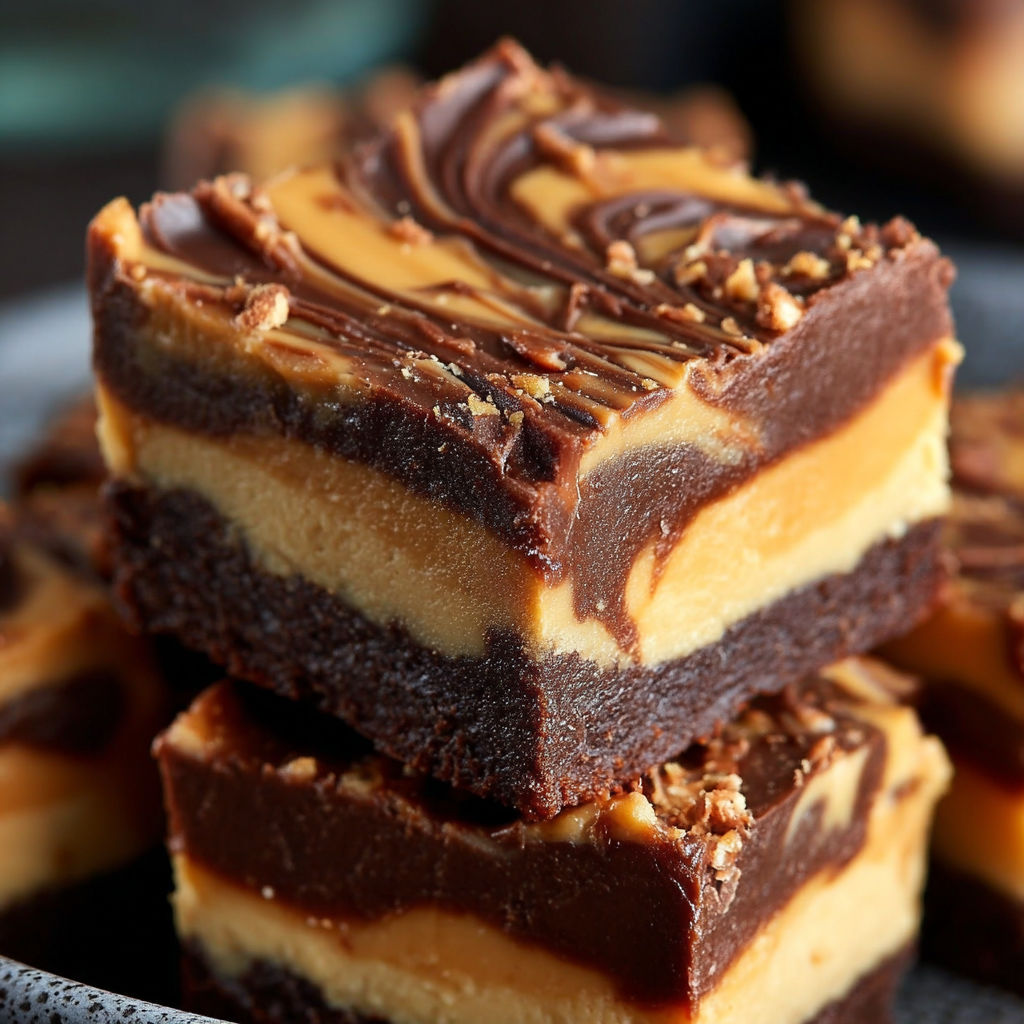
- Layer and Swirl:
- Pour about two thirds of the chocolate mixture into the prepared pan Spoon half the peanut butter mixture over top Add the rest of the chocolate mixture on top and finally spoon over the remaining peanut butter mixture This layering gives you bold pockets of each flavor
- Create the Swirls:
- Take a butter knife and drag it through the fudge back and forth to create beautiful swirls Do not overmix if you want distinct marbling
- Chill and Set:
- Refrigerate the pan for at least three hours until the fudge is set Cut into small squares and enjoy The chilling time allows the flavors to meld and the texture to become perfectly sliceable
I am obsessed with the layered swirls every batch comes out looking a little different like a work of art. My niece insisted on swirling her own pattern last Thanksgiving so it is now her signature dish to make with me.
Storage Tips
Store the fudge in an airtight container in the refrigerator for up to one week. Place parchment between layers if stacking to prevent sticking. For longer storage you can freeze the fudge just cut into pieces and wrap tightly to keep it fresh and creamy up to two months.
Ingredient Substitutions
You can use milk chocolate chips for a sweeter flavor or white chocolate chips for a twist. Almond butter chips are a fun swap for peanut butter chips for those who prefer a different nutty note. Dairy free cream cheese and vegan condensed milk can be used for a dairy free version but check the meltability and adjust as needed.
Serving Suggestions
Cut the fudge into bite sized squares for a party platter. You can also crumble pieces over vanilla ice cream for an easy sundae. Sometimes I pack little boxes of fudge as edible gifts for friends during holiday season.
Cultural and Historical Context
Peanut butter and chocolate fudge has long roots in American dessert culture pairing two beloved flavors from early 20th century candies. Adding cream cheese is a newer twist evolving from the popularity of cheesecake in home baking.
Seasonal Adaptations
Add a pinch of cinnamon or top with crushed candy canes for a wintery version Swirl in some strawberry or raspberry jam for a summer picnic treat Top with roasted peanuts for extra crunch when you want more texture
Success Stories
I have brought this fudge to bake sales where it was the first item to sell out. Kids love making these swirls themselves and it is beginner friendly for teaching young bakers layering and marbling techniques. Friends always ask for the recipe after one taste.
Freezer Meal Conversion
This fudge freezes beautifully. Cut cooled fudge into squares wrap in plastic and foil and freeze in an airtight container. Defrost overnight in the refrigerator for a make ahead sweet treat any time you need it.
With minimal prep and lots of flavor this fudge is sure to delight every chocolate and peanut butter fan. It is a crowd-pleaser you will come back to again and again.
Recipe FAQs
- → How do you achieve smooth fudge texture?
Use high-quality chips and fully melt ingredients in intervals, stirring constantly for a creamy, lump-free blend.
- → What is the best way to create swirl patterns?
Pour alternating portions of chocolate and peanut butter mixtures, then gently drag a knife through for marbled effects.
- → How long should fudge chill before cutting?
Refrigerate for at least 3 hours to allow the fudge to set fully, resulting in clean, firm slices.
- → Can the fudge be prepared ahead of time?
Yes, prepare up to a week in advance and store in an airtight container in the refrigerator for freshness.
- → What type of chocolate chips work best?
Semi-sweet chocolate chips give a balanced flavor and smooth consistency, ideal for rich layers.
- → Is it necessary to use cream cheese?
Cream cheese adds tang and creaminess, balancing sweetness and enhancing the overall texture and taste.